How to make a water elevator in Minecraft
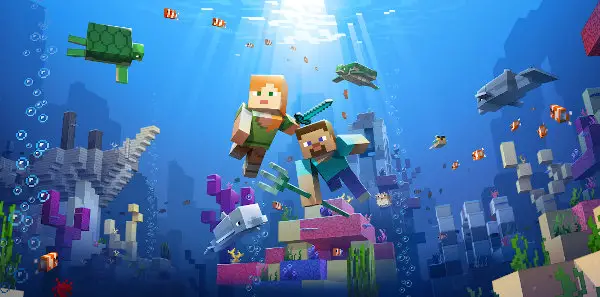
The water mechanic that water elevators, or bubble elevator, work on was introduced in the Update Aquatic or the Minecraft Java Edition 1.13. This update was focused on improving the gameplay related to water in Minecraft and the ability to use water as quick and effective transport was a welcome addition.
As water elevators are highly effective in transporting player, entities or items, it is a useful thing to have in your survival world. Let us dive into how to make a water elevator in Minecraft.
How to Make a Water Elevator in Minecraft
Water elevators can be used to move up or down, depending on the base block used. If you want an elevator that goes up, soul sand block must be placed at the bottom. For the elevator to go down, magma block must be placed at the bottom.
Build an Enclosure
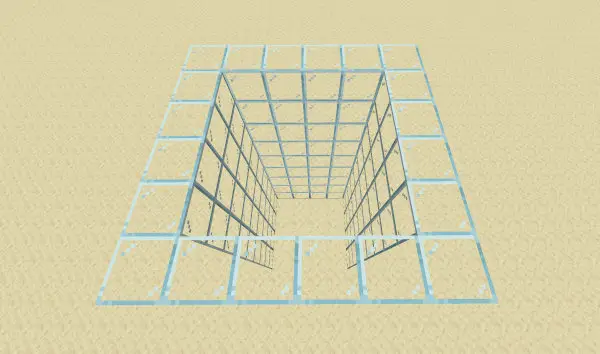
The first step to make a water elevator is to build an enclosure which will act as the elevator. Any solid block can be used to make the enclosure, although people often use glass blocks just for the aesthetics. The dimensions depends entirely on the player with no limit on length and breadth of the enclosure and the height can be anywhere from bedrock to build limit.
Fill the Enclosure With Water Source Blocks
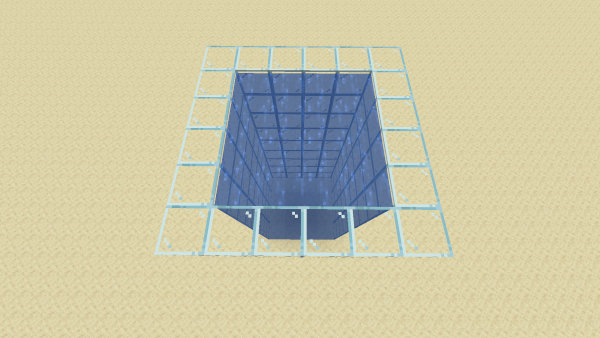
Once you have completed the enclosure, fill the entire enclosure with water source blocks. This means there shouldn’t be any flowing water present anywhere in the enclosure.
Place the Base Block
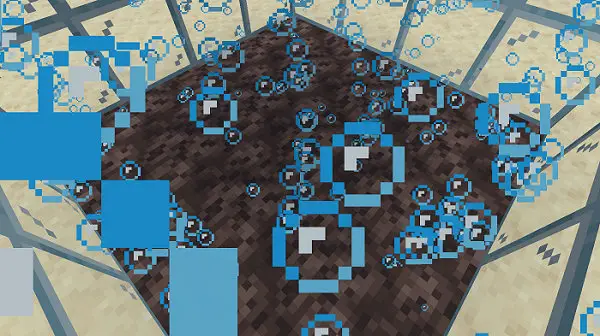
Now place the base block according to the type of elevator you want to make. A simple redstone contraption can also be used to swap the base blocks by using a button or any other toggle method.
The Water Elevator is Ready!
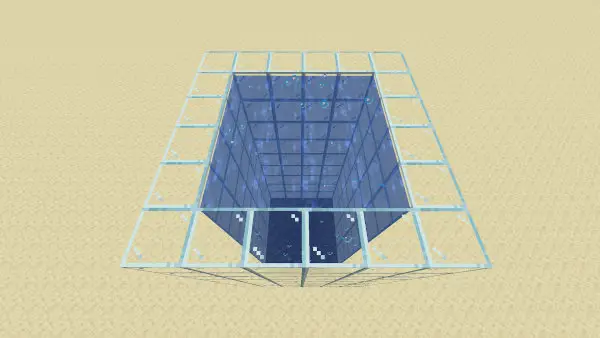
Once the above steps are carried out correctly, you will notice bubbles in the water which indicates the water elevator is functioning. Now the water elevator is ready to be used as a transportation system.
How to Make Water Source Blocks
There are many ways to make water source blocks. One of the oldest ways is to place water source using infinite water source and buckets. This has been the traditional way of doing it for years.
Creating Infinite Water Source
- Dig a 1 block deep and 2 x 2 wide hole and place water source diagonally, as shown in the image below.
Note: The wooden planks are placed to better illustrate the placement of the water blocks. Player DO NOT need to place the planks while making the infinite water source in their minecraft world.
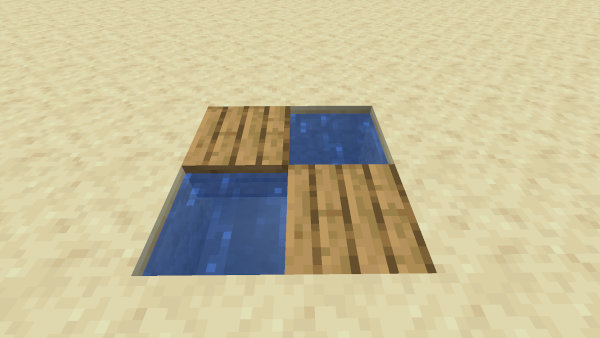
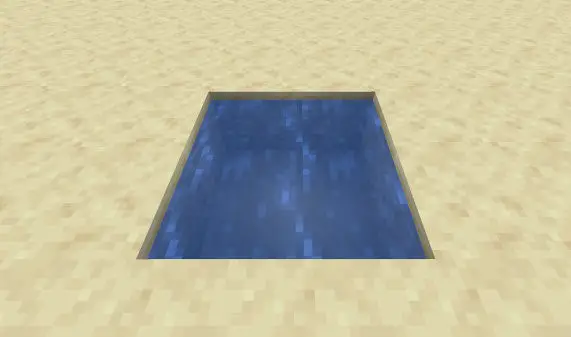
- As you place those two water sources diagonally, the water will stop flowing and you will have an infinite water source. Take as much water as you want using buckets!
Using Kelp
Another way to make water source blocks is by using Kelp. Kelp was also introduced in the Aquatic Update and so this method is relatively new. It is available in abundance in any kind of ocean so the player doesn’t have to worry about its availability.
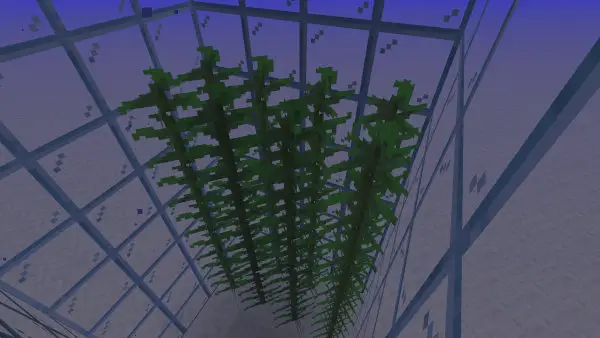
So the idea behind this method is that Kelp turns any flowing water into water source block if it is placed in the flowing water, and it can be removed after converting the flowing water into water source blocks. This method can turn out to be highly efficient in making water elevators and many Minecraft players have adopted this method.
How to Make a Water Elevator in Minecraft – Video Tutorials
Conclusion
We have gone through how to make a water elevator in minecraft and the different ways of doing it. Water elevators are very useful for almost every purpose, from a normal base to large automated farms. Learning how to make a water elevator in Minecraft definitely helps players in making for efficient and fast transportation designs.
Feel free to ask any doubts regarding how to make a water elevator in minecraft in the comments section.
MORE FROM INKCUE
- How to Fly in Minecraft : Java Edition 1.9 and Later Complete Guide
- How to Craft Potion of Slow Falling in Survival Minecraft : Java Edition 1.13 and Later
Rohan K. Prasad is an author at Tech Inkcue. He is an engineer with specialization in Electronics & Communication. He is an admirer of modern technology and covers electronic machines of any type.
